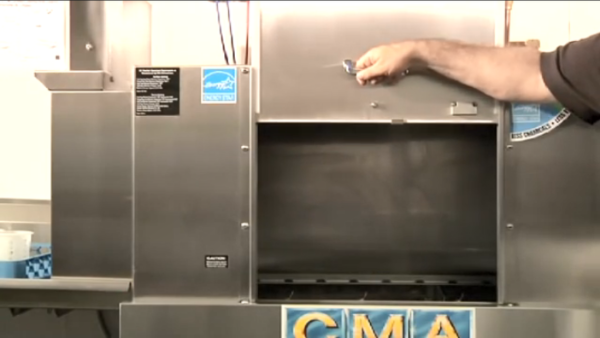
CMA Conveyor Dishwasher Operations Guide
CMA Dishmachines' line of conveyor dishwashers provides superior cleaning while also maintaining efficiency. These machines are Energy Star® approved and use only 0.46 gallons of water per rack of dishes.
This operations guide applies to both Model EST 44 and Model EST 66.
Filling and Operating
-
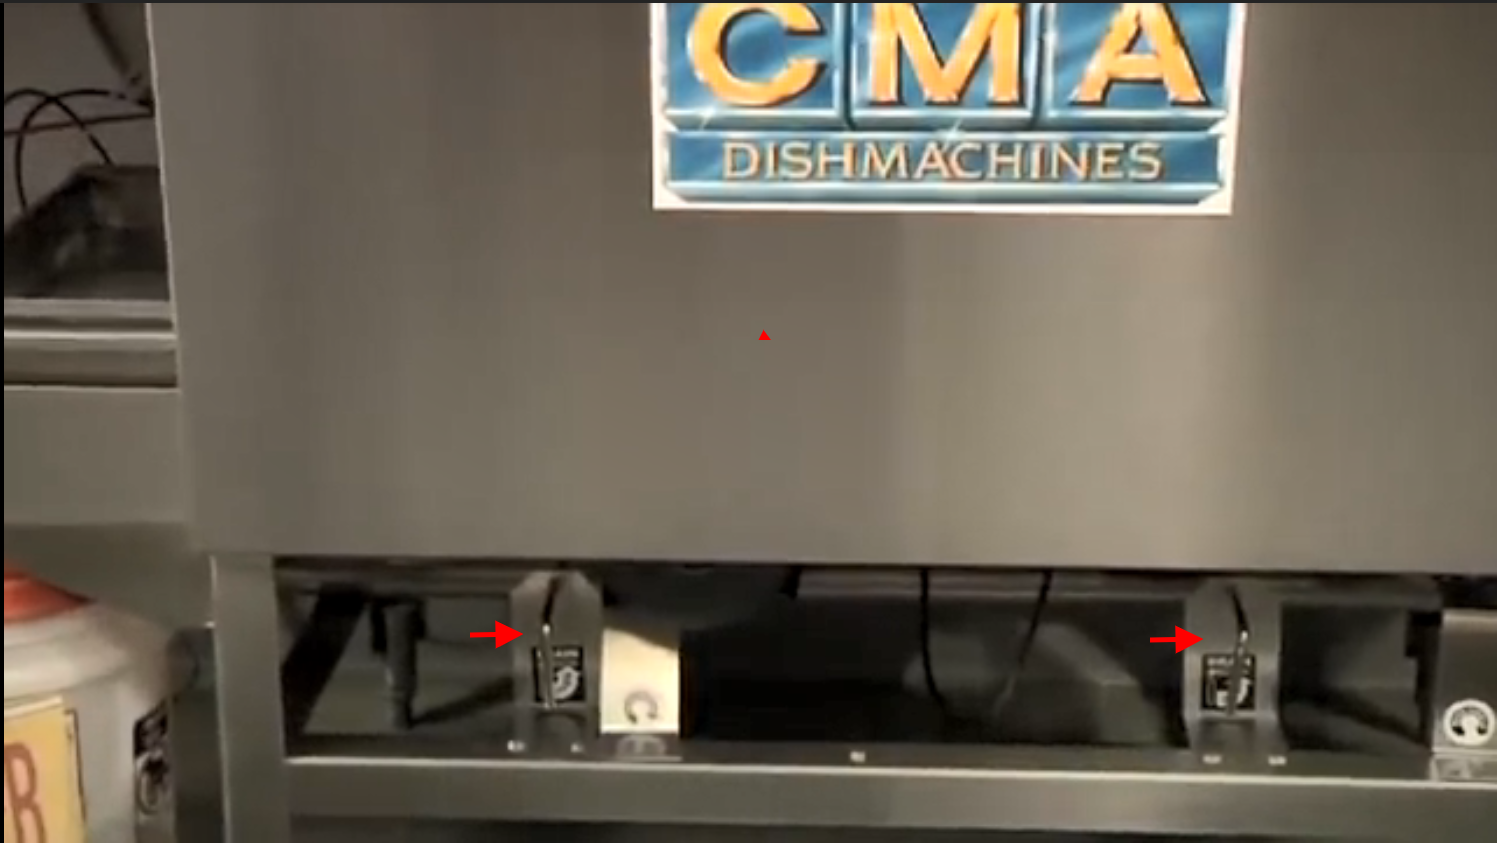
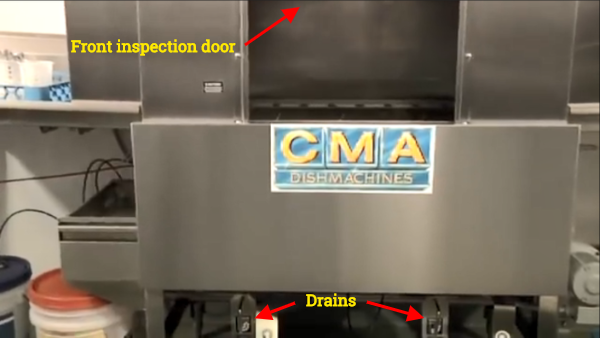
Before filling the dishwasher with water, close the two drains located beneath the machine.
-
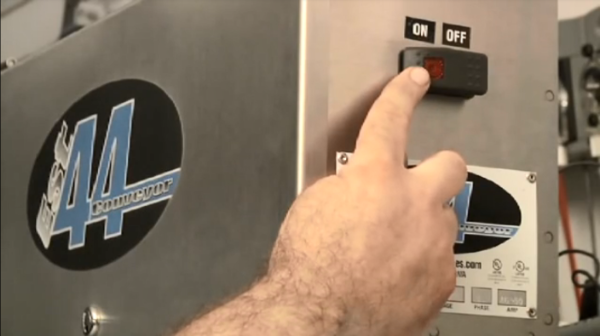
Push the Power On/Off button located on the main control box at the top of the dishwasher. The machine will then fill with water. When you observe water overflowing into the scrap accumulator, both tanks will be full of water.
-
Observe the temperatures in both the wash and rinse tanks to be sure they are both at the proper operating range.
Wash Rinse Low-Temperature 120-140°F 155-160°F High-Temperature 150-160°F 180-195°F 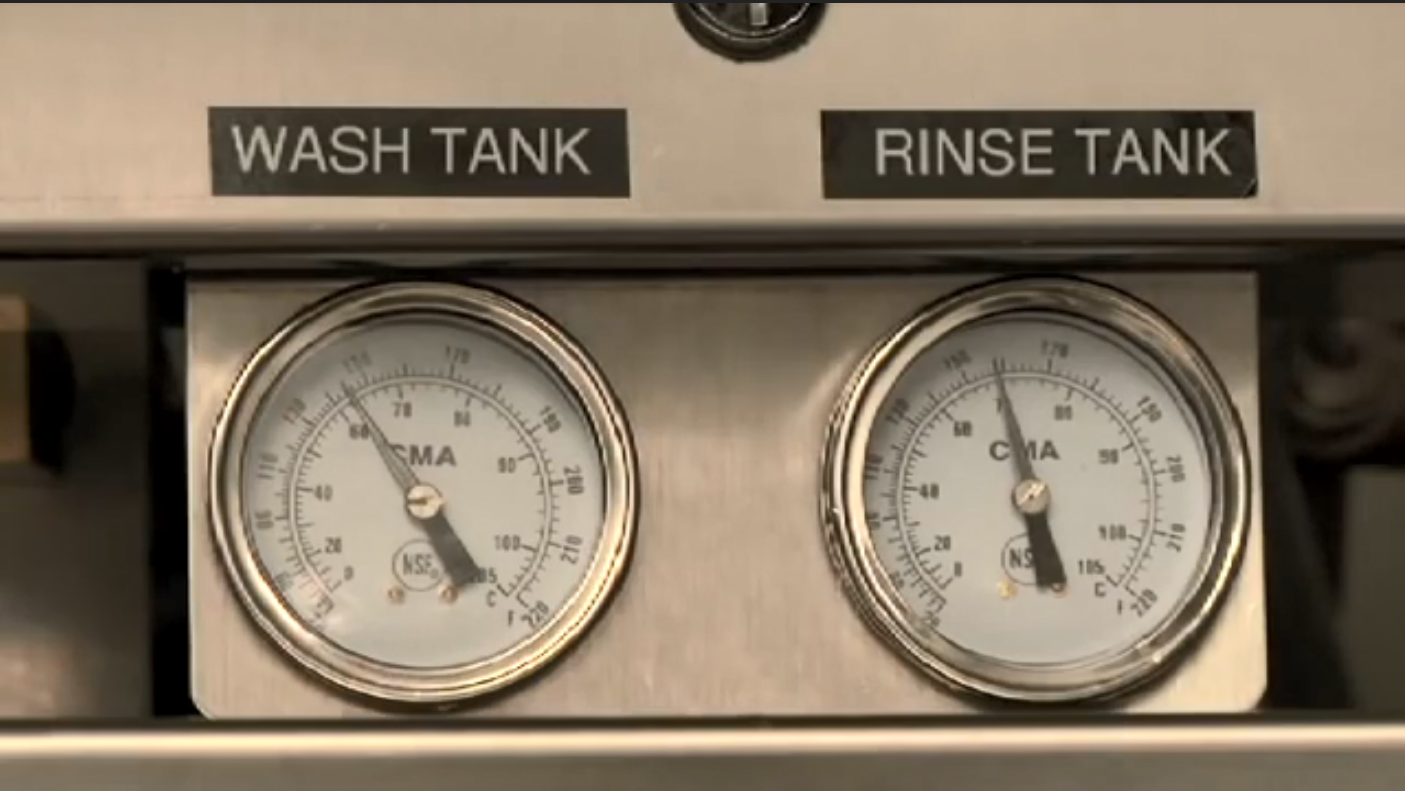
-
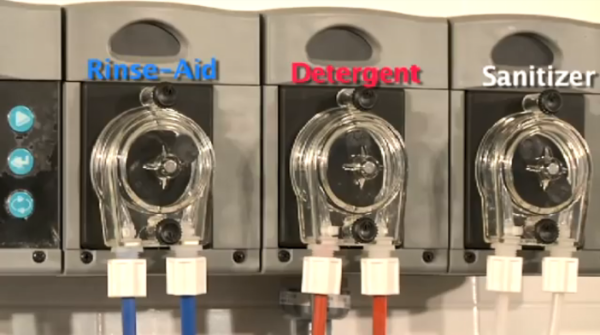
Check your supply of detergent, rinse aid, and sanitizer, and make sure each chemical line is in the appropriate container. The chemical lines are coded red for detergent, blue for rinse aid, and white for sanitizer (only used for low-temperature operation).
Washing Procedures
Note: All CMA conveyor dishwashers utilize a table limit switch. When activated, this switch will interrupt the dishwasher's operation. To ensure uninterrupted operation, promptly remove exiting racks to keep the switch clear.
Dishes
-
Sort dishes by size, placing the larger dishes to the back of the rack and the smaller dishes to the front. Be careful not to over stack or crowd the dish racks.

-
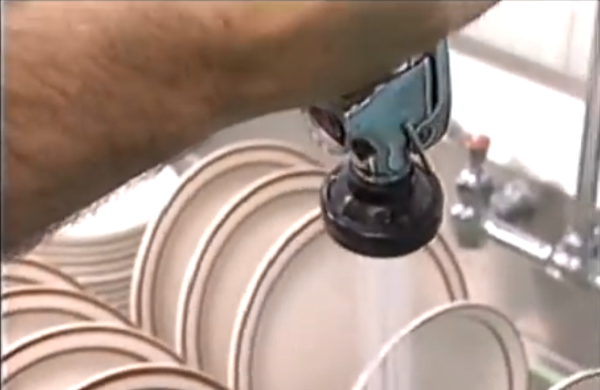
Pre-rinse the dishes well with the pre-rinse sprayer - the better you pre-rinse, the better the results will be.
-
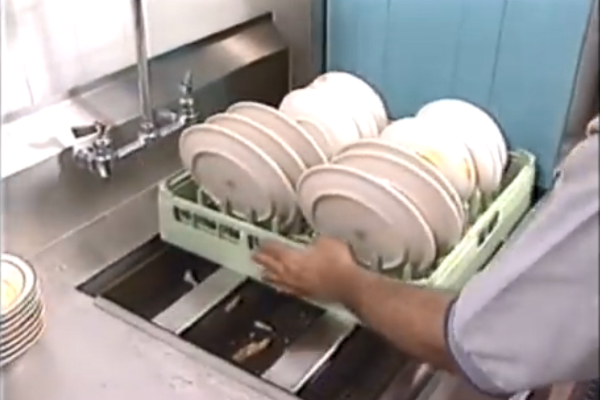
Place the dish rack at the entrance of the dishwasher. Do not push the rack too far; the dishwasher will automatically start to pull the rack through.
Glasses
-
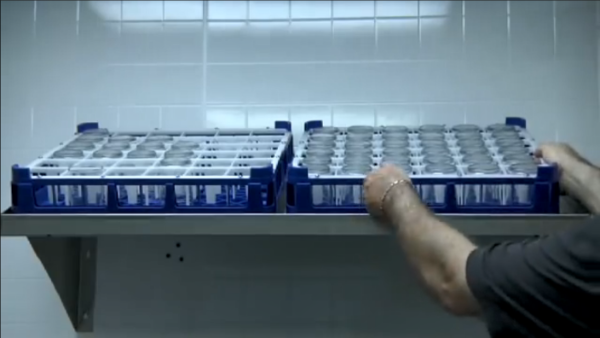
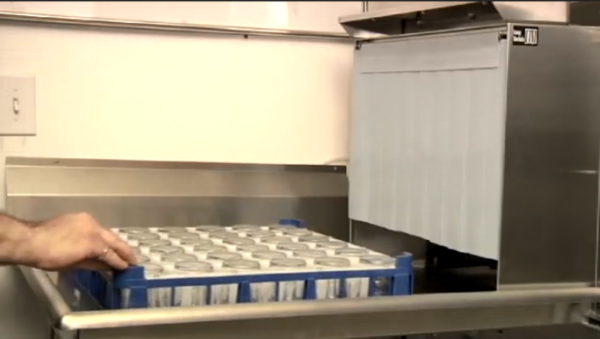
Place glasses and cups into the proper glass rack.
-
When the rack is full, push the rack into the entrance of the dishwasher (see final step above).
-
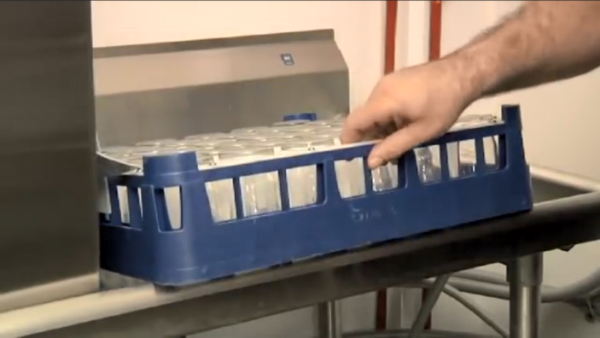
Once the rack has gone through the dishwasher, tip the rack slightly to help speed the drying process.
Silverware
-
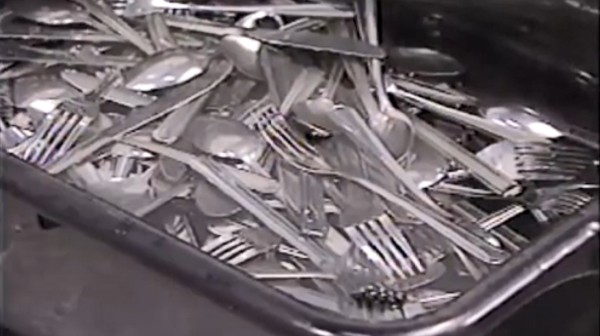
Pre-soak stainless steel flatware using a pre-soak detergent in a tub for a minimum of 15 minutes prior to washing.
-
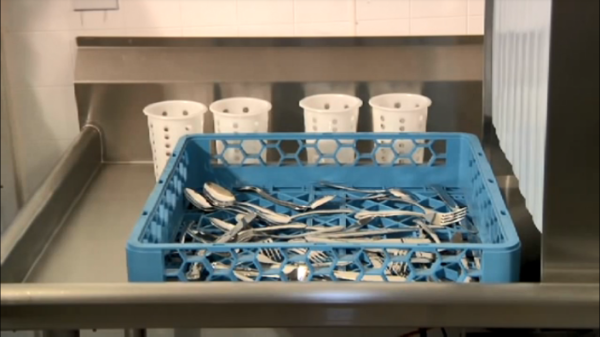
Once the flatware has been pre-soaked, place the flatware into a flat rack. Pre-rinse thoroughly and push the rack into the entrance of the dishwasher.
-
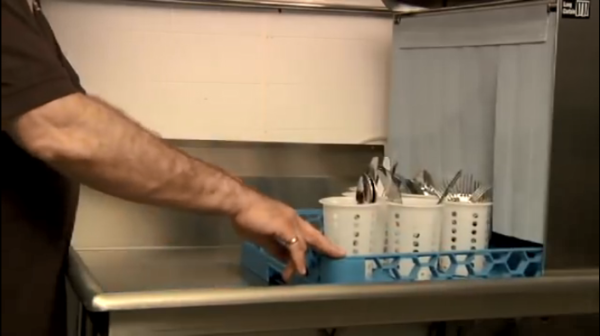
Upon exiting, the flatware must be sorted and placed in special baskets with the handles down and then run through the dishwasher a second time.
-
Transfer flatware into a clean container.
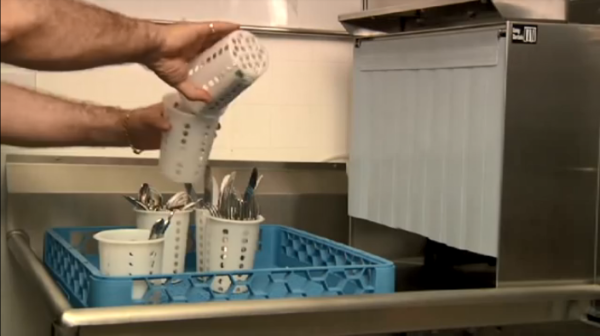
Do not ever use a towel to dry dishes, glasses, or flatware. All eating utensils must be air-dried to ensure proper sanitation.
Draining and Cleaning
For best results, the dishwasher should be cleaned after every service.
-
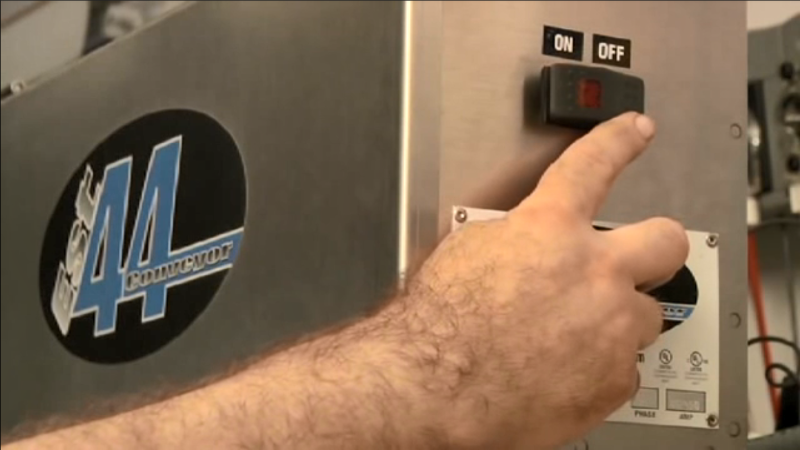
Turn off the power switch.
-
Open the front inspection door and open the two drains located at the bottom of the dishwasher. Allow the dishwasher to drain and cool.
-
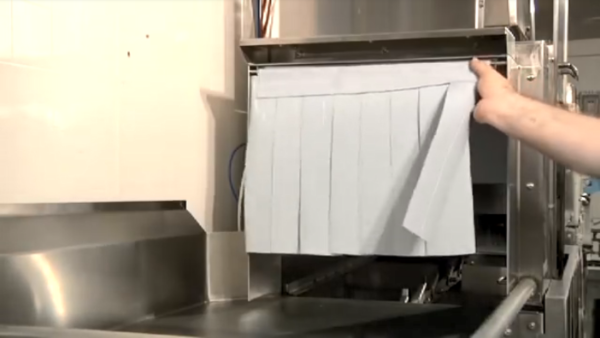
Remove the curtains and clean them with a mild detergent. Caution: Note the location of the curtains when placing them back into the dishmachine: long outside, short inside.
-
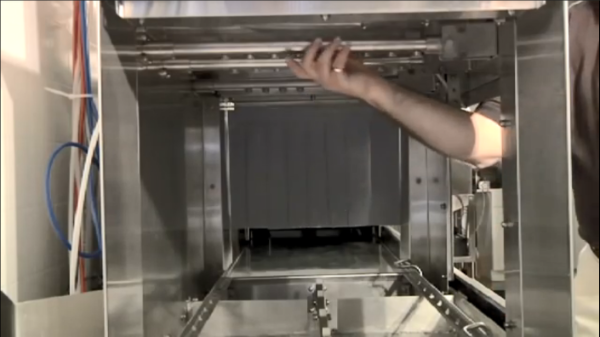
Inspect the upper and lower wash and rinse arms for debris. If the arms are clogged, remove them from the dishwasher.
- To remove the upper arms: Hold the back of the arm, pulling the arm forward towards the front of the dishwasher, and then pull down on the back portion of the spray arm.
- To remove the lower arms: Hold the back of the arm, pulling the arm forward towards the front of the dishwasher, and then pull up on the back portion of the spray arm.
-
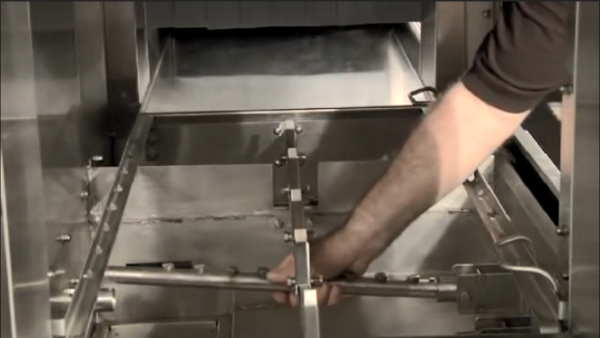
Once removed, use a toothpick or brush, along with the pre-rinse sprayer, to clean. Replace the arms.
-
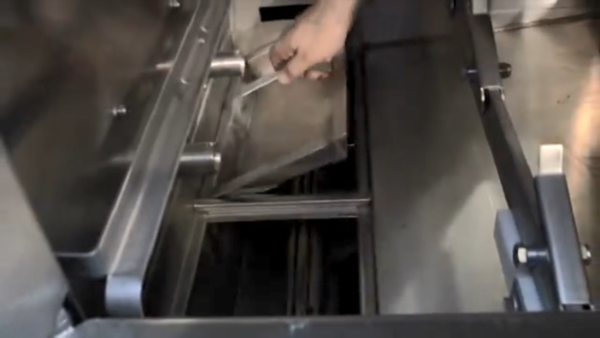
Remove and clean the three scrap trays inside the dishwasher. Dump the scraps into a waste receptacle and use the pre-rinse sprayer to clean the trays.
-
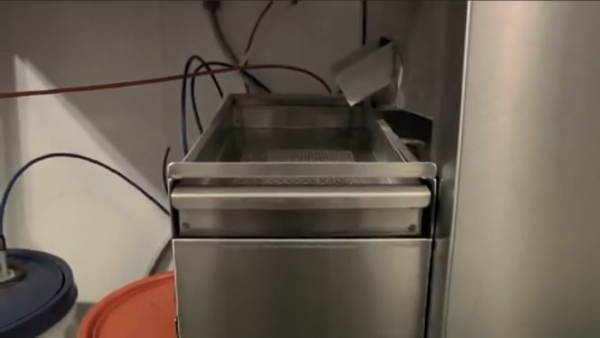
Clean the scrap accumulator tray and rinse thoroughly before replacing it.
-
Prior to placing parts back inside the dishwasher, use the pre-rinse sprayer to clean out any debris following the final cleaning of the day.
-
Allow the dishwasher and its parts to air dry.
